
Shopify App Development: A Practical Guide to Building Your First App with Remix
A practical guide to building your first Shopify app: scaffolding with the CLI on the recommended Remix template, OAuth and sessions, your first GraphQL call, scopes, reliable webhooks, billing, deployment, and getting through App Store review.

Yash Nandvana
Full Stack Developer
1. Introduction
A theme section changes how one store looks. An app changes what any number of stores can do. That is the whole difference, and it is why app development is a different discipline from theme development: a section is Liquid and JSON shipped inside a theme, while an app is a standalone web service that talks to Shopify's APIs, lives inside the admin as an embedded page, and has to survive installs, uninstalls, OAuth, webhooks, billing, and review on stores you will never see.
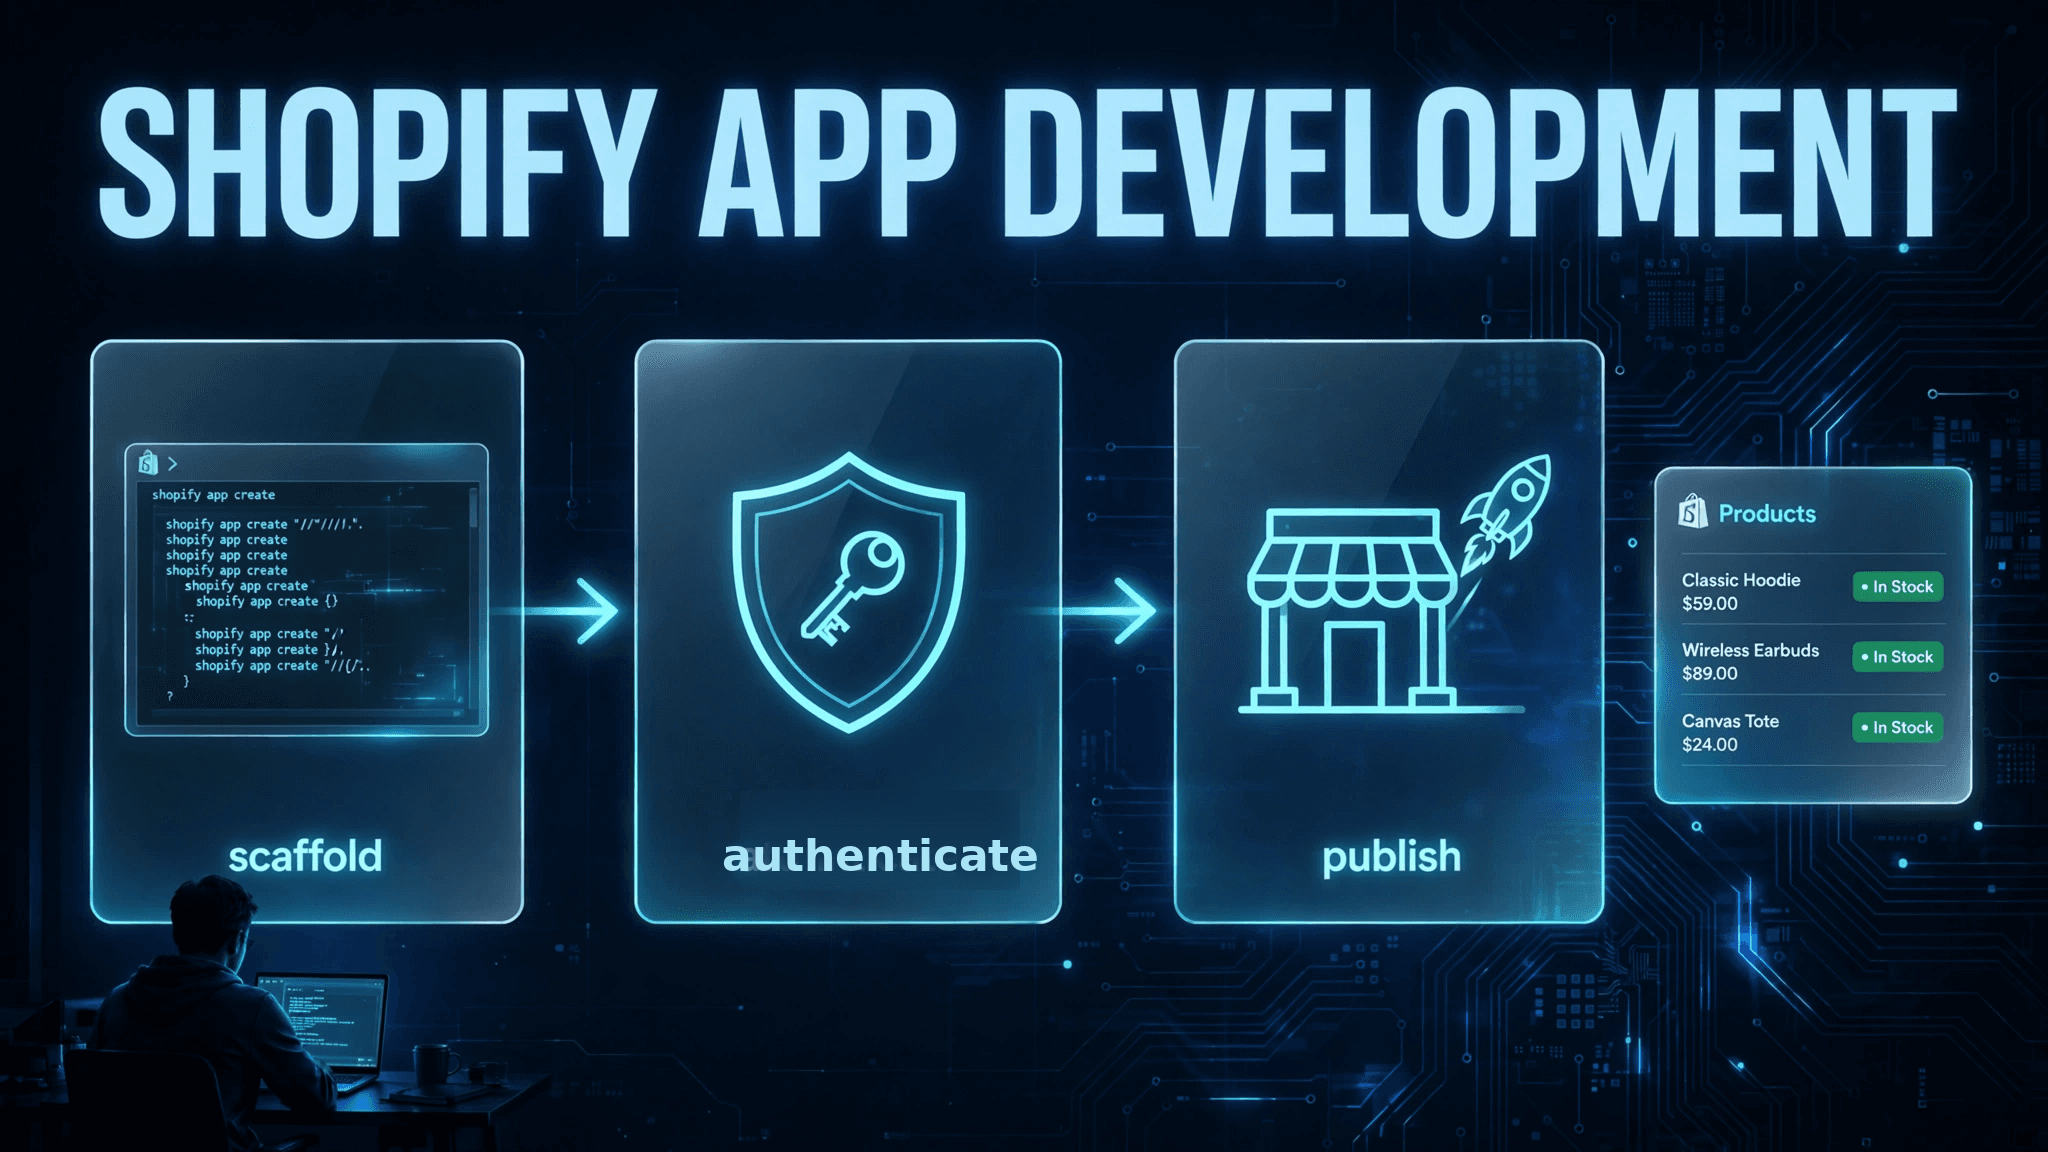
This guide walks through building a first Shopify app the way Shopify intends it to be built in 2026: scaffolded with the Shopify CLI, built on the recommended Remix template, authenticated through the template's session handling, and shipped to the App Store. It covers the parts that are genuinely load-bearing — OAuth, sessions, scopes, webhooks, billing, deployment — and the mistakes that get apps rejected in review or broken in production. It assumes you can write JavaScript or TypeScript and have built something with Node.js before. It does not assume you have ever touched the Shopify Partner Dashboard.
2. What You Need Before You Start
Three accounts and two tools, all free:
node --version and upgrade if you are on an old major version.npm install -g @shopify/cli and verify with shopify version. The CLI scaffolds the app, runs it locally against your development store with a secure tunnel, and deploys app configuration and extensions from the terminal.That is the full prerequisite list. There is no paid plan, no test credit card, and no separate staging environment to buy. The development store is the staging environment.
3. Scaffold with the CLI
From an empty folder, run:
npm init @shopify/app@latestThe CLI asks for a project name and which starting point you want. Pick Start with Remix (recommended). The alternative is an extension-only app, which is for apps that are nothing but extensions with no admin UI — not what a first app should be.
Two notes on the template name, because it confuses people. First, Remix has merged into React Router v7, and Shopify's template follows that lineage — if your scaffold mentions React Router instead of Remix, you are on the current path, not a wrong one. The model in this guide — loaders that fetch on the server, actions that handle form submissions, nested routes — is the same either way. Second, Shopify previously shipped a Next.js template and moved away from it. Remix's server-first model fits Shopify's requirements better: authenticated server-side API calls are the default shape of the code, not something bolted on.
Once scaffolding finishes, run the dev command:
npm run devOn first run the CLI does several things at once: it registers the app against your Partner account, starts the Remix dev server on localhost, creates a secure tunnel (Cloudflare) so Shopify can reach your local machine over HTTPS, and prints an install link for your development store. Open that link, install the app on the dev store, and you are looking at the template's index page inside the Shopify admin. The app already works at this point — it is a working shell with OAuth, sessions, and an embedded UI. Everything after this is your feature.
4. What the Template Gives You
Before writing any feature code, know what the scaffold already handles, because these are the parts that are fiddly and security-relevant, and hand-rolling them is where first apps go wrong:
state nonce, token exchange, and token storage. Every step where a hand-rolled implementation goes subtly wrong is already covered.authenticate.admin(request) in a loader or action returns a client with the access token already attached, plus rate-limit-aware behaviour.shopify.app.toml are registered on install, and incoming requests are HMAC-verified with the raw body handled correctly.What the template does not give you: a data model, background jobs, a queue, monitoring, billing logic, or any opinion about how you reconcile state when a webhook goes missing. Those are yours to build, and sections 6 to 10 cover the decisions that matter.
The template's configuration lives in shopify.app.toml at the project root. It declares the app's name, the API version it targets (a dated release such as 2026-04), the access scopes it requests, the webhook subscriptions it registers, and the URLs Shopify should use. npm run deploy pushes this configuration to Shopify, so what is declared in the repository is what is live. Treat the file as the app's contract with the platform, not as boilerplate to ignore.
5. OAuth and Sessions: The Part You Must Not Rebuild
When a merchant installs your app, Shopify redirects their browser to your app with install parameters, your app redirects them to Shopify to grant the scopes in shopify.app.toml, and Shopify redirects back with an authorization code that your app exchanges for an access token. That token is stored in the session store, keyed by shop, and used for every API call on that shop's behalf.
The template handles all of this. Your job is to not break it, and the rules are short:
authenticate.admin(request) and use the server-side token.If you are tempted to replace the template's auth with a hand-rolled version because it looks simpler, remember what it handles: HMAC verification of the install redirect, the state nonce that prevents cross-site request forgery, token exchange, and session persistence. The twelve things everyone gets wrong about Shopify authentication are already right in the scaffold. Keep them.
6. Your First API Call
The shape of every feature in a Shopify app is the same: a Remix loader authenticates, calls the Admin API, and returns data to the component. Here is the template's pattern, fetching the shop's first ten products:
export async function loader({ request }) {
  const { admin } = await authenticate.admin(request);
  const response = await admin.graphql(`#graphql
    query {
      products(first: 10) {
        edges {
          node {
            id
            title
            totalInventory
          }
        }
      }
    }`);
  const { data } = await response.json();
  return json({ products: data.products.edges });
}
Three things to notice. First, there is no token handling in this code — authenticate.admin did it. Second, the Admin API is GraphQL, and the query is the same shape you would write against any GraphQL API: ask for exactly the fields you need. Third, the data is fetched on the server, inside the loader, so the component renders with data already in hand.
Two habits to build from the first call onwards. Check userErrors on every mutation response — GraphQL returns a 200 with errors inside the payload, so a successful HTTP status does not mean the write worked. And respect the cost-based rate limit: every query has a computed cost against a per-app bucket, so a page that fires five heavy queries on every load will throttle under real traffic. The pagination, cost calculation, and userErrors patterns are covered in depth in the GraphQL Admin API guide linked at the end of this post.
7. Scopes: Ask for the Least You Need
Access scopes are declared in shopify.app.toml:
[access_scopes]
scopes = "read_products,write_products"
Scopes are the app's permission slip, and three rules govern them:
Decide the scope list when you decide the feature list. If a feature is speculative, leave its scope out until the feature ships.
8. Webhooks Done Right
Most of an app's real work happens outside the admin page: a product is updated, an order is created, a customer is deleted, and your app has to react. That is what webhooks are for, and they are also where first apps most often break in production.
Declare subscriptions in shopify.app.toml and they are registered when the app is installed. Then handle the four things that make webhooks reliable:
customers/data_request, customers/redact, and shop/redact — plus app/uninstalled so you can clean up a shop's data and stop billing when the app is removed. An app without these does not pass review.The template gives you registration and verification. The queue, the idempotency, and the reconciliation when a webhook never arrives are yours. If your app's correctness depends on never missing an event, add a periodic reconciliation job that compares your stored state against the API — webhooks are a notification mechanism, not a guarantee.
9. Billing: Charge Through the Billing API
If the app is paid, charges go through Shopify's Billing API — never through an external payment link. The merchant approves the charge inside the admin, Shopify takes its revenue share, and the charge appears on the merchant's Shopify invoice. The standard shape is a recurring subscription created with appSubscriptionCreate, with a trial period if you offer one.
Practical points:
app/uninstalled arrives, stop the subscription and stop billing. Continuing to charge an uninstalled shop is the fastest way to a bad review and a policy violation.Free apps skip all of this, but the moment a price exists, the billing flow is part of the app and will be tested in review.
10. Deploying: A Real Host and a Real Database
The tunnel the CLI creates is for local development only. A production app needs three things the scaffold does not provide:
SHOPIFY_API_KEY, SHOPIFY_API_SECRET, and SHOPIFY_APP_URL pointing at the production URL. The app URL must be HTTPS and must match what is registered in the Partner Dashboard, or OAuth redirects will fail.Deployment order matters: deploy the code, set the environment, run shopify app deploy to push the configuration, then install the app on a fresh development store and click through every flow as if you were the reviewer. If anything in the OAuth flow, the billing flow, or the webhook handlers depends on the production URL, that fresh-install test is where it breaks — which is the point of doing it before review, not during it.
11. The App Store Listing and Review
A public app is not live when the code deploys. It is live when the listing is approved, and review tests the app the way a merchant would:
Common rejection reasons, in order of how often they appear: missing or broken GDPR webhooks, billing that does not work on a test store, scopes the app does not use, and an onboarding flow that only works on the developer's own store. Fix those four before submitting and the review is usually a formality. Expect the review to take days, not hours, and budget a round of fixes into the launch plan.
Platform note, November 2026: Shopify is rolling out a mandatory IP allowlist for public apps. Bulk operations are being blocked from mid-November 2026 for apps without one, and existing installs keep working until 1 April 2027. If your app uses bulk operations, add your servers' IP addresses in the Partner Dashboard's App Security Hub before you ship — it is a one-time configuration step that is easy to miss and expensive to discover through a blocked operation.
12. Checklist
npm run dev installs cleanly on the dev store.shopify.app.toml reviewed: correct api_version, minimum scopes, webhook subscriptions declared.authenticate.admin; mutations check userErrors; queries stay inside the cost budget.app/uninstalled.shopify app deploy run.Conclusion
Shopify app development looks like a lot of surface area — CLI, template, OAuth, GraphQL, webhooks, billing, review — but almost all of it is the template's job, and the template is good at it. The work that is actually yours is smaller and more specific: pick the minimum scopes, write the feature, make the webhooks idempotent, charge through the Billing API, and deploy to a host with a real database. Everything else is configuration and verification.
The fastest way to learn it is to build the loop once, end to end: scaffold, install on a development store, make one API call, register one webhook, deploy, and install again on a fresh store. After that loop, the second feature is just more of the same shape — a loader, an action, a webhook handler, a Polaris page — and the app grows by repeating a pattern you have already proven works. Ship the small version, get it through review, and let real merchants tell you what the next feature should be.
Next Recommended Reads
Yash Nandvana• Full Stack Developer
Full Stack & Shopify Developer building scalable web apps, developer tools, and AI solutions.
Learn more about YashRelated Articles
Shopify Webhooks: A Complete Guide for Developers
A comprehensive, production-tested guide to Shopify webhooks: HMAC signature verification, raw body handling, idempotency with Redis, queue architecture, and local testing.
Shopify GraphQL Admin API: A Practical Guide for Developers
A comprehensive, production-oriented guide to Shopify's GraphQL Admin API: queries, mutations, pagination, rate limit cost calculation, userErrors checking, and bulk operations.
How to Build a Custom Shopify Section with Liquid: A Step-by-Step Guide
A practical, step-by-step guide to building a merchant-editable custom Shopify section with Liquid: schema settings, repeatable blocks, presets, scoped CSS, and the mistakes that break sections.

